menu   home About Me My Products  

Books Boys LOVE

 As a second grade teacher and a mom of three boys, I am always searching for books that will capture the interest and imagination of boys. For most of my second graders, the end goal is for them to be reading chapter books before the school year is over. There are numerous book series that girls enjoy. However, books that captivate boys are much harder to find. The following series are currently working for me in my classroom (and house) right now.

A long-time favorite for me in my classroom has been Hank the Cowdog. There are now over 60 books in this series. 

My oldest son got hooked on them in the second grade and is STILL reading them as a sixth grader. My husband is also a big fan (so there really is no age limit on these books). In my second grade classroom, I start reading these aloud while my kiddos are practicing their handwriting. I teach in a rural farming/ranching community and these books grab the attention of my kids like no other book series. The author, John R. Erickson, is a master of capturing ranch life in rural Texas. It helps if they are read aloud with a strong Texas draw ;) By the time that my students are heading to third grade they are dying to get their hands on a “Hank” book for themselves. 

The characters in these books are so entertaining and endearing. My sons have literally laughed until they cried retelling me the stories from these books. At home, even my husband will stop to listen if I am reading one aloud with my boys.


A new favorite of mine is the “I Survived” series by Lauren Tarshis. What I love about these books is that it teaches the reader about an historic event through the eyes of a fictional character. I never heard of this series until my middle son (in the third grade) started talking about the Nazi invasion at the dinner table. He had been reading “I Survived Nazi Invasion” and was curious about learning more. He loved all the books in this series and was constantly returning to the school library to see if other ones were available yet.


Lastly, any book by Gary Paulsen is a hit with boys. Honestly, I read some of his books when I was in school and I didn’t think they were too great. However, boys seem to LOVE these books. My oldest is completely fascinated by any of his books. Of course, “Hatchet” is the book that he is best known for. However, he has dozens of books that hold the interest of boys.

Introducing Multiplication Conceps


I landed a job teaching third grade right out of college. It seems like I spent the entire year reviewing multiplication facts. We drilled, drilled, and drilled some more. Although it looked like the majority of my students learned their multiplication facts, it was hard to gauge if they actually understood the concept of multiplication. After my first year, I changed schools and began teaching fifth grade. Once again, it seemed like I spent the entire year focusing on our multiplication facts. Once AGAIN, we drilled, drilled, and DRILLED some more.

Now that I am teaching second grade, I have really started thinking about how to teach the concept of multiplication. I don’t start multiplication until later in the school year. However, we address the concept throughout the year.

I have found that discussing real life situations with the kids is the best way to introduce multiplication as a concept. For example, “Sally Sue Pants bought four ice cream cones. Each ice cream cone has three scoops of ice cream on it. How many scoops are there in all?” The first thing we do is to actually draw the picture--we draw four ice cream cones and then add three scoops of ice cream to each cone.


After that, I show them that it is actually a multiplication problem and show them how to write the problem. We repeat this several times. I like to divide a paper into fourths so that we can have eight practice problems (four problems on each side).


After we understand the concept of multiplication, we move onto work that still requires students to draw the problems. Although some may be ready to move on to learning actual multiplication facts at this point, we save those for later. Once we seem to have mastered that, I show them how the problem can be represented as a multiplication problem. The students love being able to write multiplication problems. After adding and subtracting in kindergarten and first grade, it’s exciting for them to be able to write a whole new kind of problem.

Even though we are writing multiplication problems, I really like to be systematic about which problems we start with. I prefer to start with only multiplying by 2’s. Since multiplying by 2’s is a review of adding our doubles, it’s the perfect place to start.


We focus intently on multiplying by 2’s for an entire week. I really like to make sure they have mastered their 2’s before moving on. The eventual target is to have the students solving word problems that require them to apply their multiplication facts. My students seem to solve word problems better when they are allowed to use color pencils. I have always used color pencils while working on the elmo projector. My students asked me if they could use them too, and it has worked really well. They love adding some color to their work.

When solving word problems, we always read through the problem first. Next, we underline the question (this is where the color pencils come in). We then go back and circle any number that we need. Lastly, we solve the problem.


Don’t get me wrong – we still practice our multiplication facts. However, we do not do that until they fully understand the concept. When we start practicing the facts, I only start with 0’s and 1’s. We practice these each morning with our warmup papers for a week. After a week, we test over them (our test day is always Wednesday). If they do well on those, they get a small sticker that they can put on their desk name tag. I strongly suggest starting with the facts that they can easily master. This is the order that I use in my classroom – 0’s, 1’s, 2’s, 5’s, 3’s, and then 4’s. Learning all of these will really help them going into the third grade.

My favorite site for multiplication fact practice pages is Math Drills. I really like this site because it allows you to focus on multiplying by a single number at a time. For example, after we have learned our 0’s and 1’s, we move on to the 2’s. I can easily print pages that contain only x2 problems. I like to print 100 problems a page, but I cut the pages into strips so that they are only practicing 20 or 30 at a time. (This is also great for saving paper).


Feel free to download my Beginning Multiplication FREEBIE to help you get started!


Using the Olympics in Your Classroom


My students have always loved learning about the Olympics. It’s an event that everyone seems to be interested in. I think the fact that students can take what they’ve learned about the Olympics home to share with their family is a big reason. Students also enjoy watching the Olympics at home and discussing it the next day. There are so many ways to incorporate the Olympics into the classroom. Here are some of my favorite ways!

Social Studies

The Olympics are a great way to talk about “Then and Now.” The first modern day Olympics was over 100 years ago. What was the Olympics like back then? How has it changed over the years? Here are some things to think about:
·         Compare the number of events back then and now
·         Compare the number of athletes back then and now
·         Compare who can compete compared to who could compete then
·         Compare the medals of the past to the current medals
·         Compare the length of the games from the past years to the current years
·         Compare the number of countries (and their medal counts) to the number of countries now competing


There are so many fascinating events in the Olympics! Students absolutely LOVE learning about the various events! I like to show them a presentation about the different events. There are sooo many that it often takes a few class periods to discuss them. We are all familiar with the popular events, but there are some really unique events!


We also cut out fact cards about each event. Each card has a short summary of each event. We placed these in pockets. They could be used in interactive notebooks, but we saved ours for making a lapbook about the Olympics.


The Olympics are also a fun way to learn about geography. We can look at the maps of ancient Greece as well as the current map of Rio.


We use the Olympics to discuss timelines. We discuss how the modern day Olympics has changed over the years. Then we complete an Olympics timeline for practice.


Reading

Below are some books that we have been reading while learning about the Olympics.


We also read some nonfiction reading passages to learn more about the Olympics.


Math

Keeping up with the medal count is a great activity during the Olympics. The medal count is also a super way to practice your data and graphing skills!


Along with reading the medal count in a table, we construct:
·         Tally charts
·         Bar graphs
·         Pictographs

Complete Olympic Unit

All of the information we learned about the Olympics went into our lapbooks to take home to share with our families.


It also could have easily fit into an interactive notebook or journal.


All of the activities above can be found in the Olympic Unit below!


You can find the presentation at:


Or you can buy them as a BUNDLE and SAVE!


Characteristics of a Good President


We spend a good part of February talking about presidents. No matter what students’ feelings are towards certain presidents (or presidential candidates), we can all agree on characteristics of a good presidents are. We spent quite a bit of time discussing how we think that presidents should and should not behave. Our list of good presidential characteristics include:
·        Honest
·        Trustworthy
·        Smart
·        Kind
·        Educated
·        Truthful
·        Generous
·        Fair
·        Hardworking
·        Open-minded


To wrap up our unit on presidents, we made an art project that allowed students to draw their own presidential portraits.

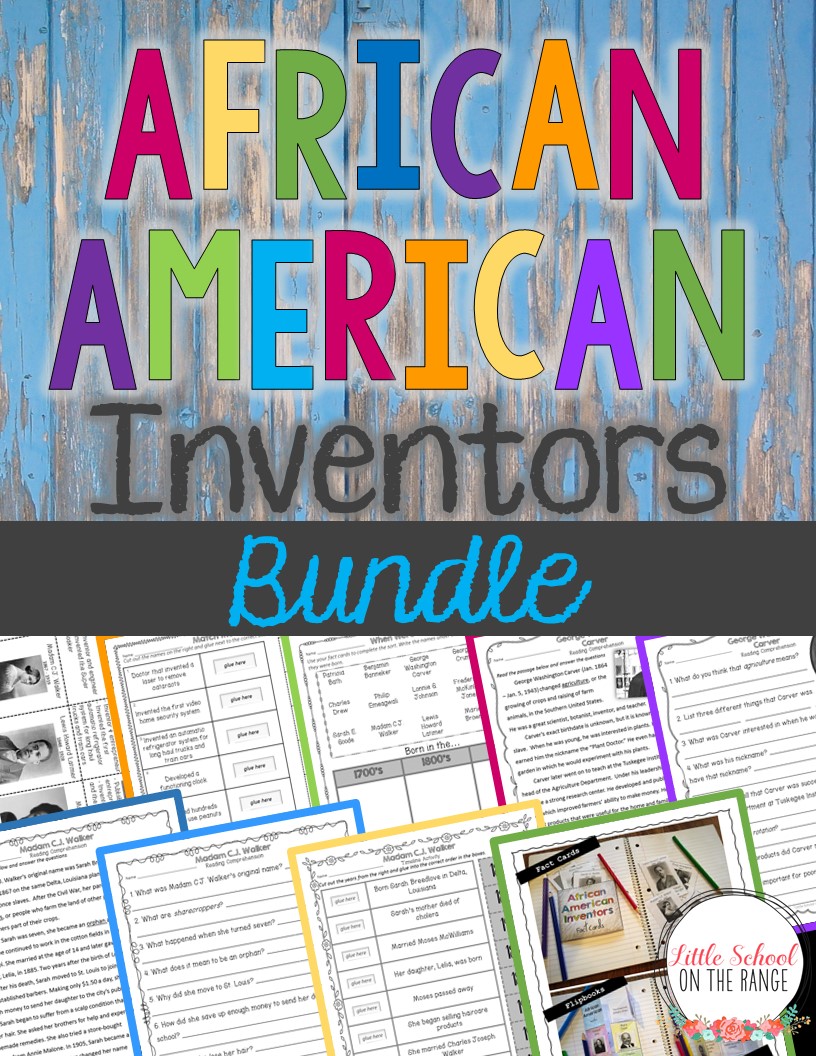
15 Inventors for Black History Month


 This is a list of our favorite 15 inventors for Black History Month

·       Patricia Bath
·       Benjamin Banneker
·       Sarah Boone
·       Marie Brown
·       George Washington Carver
·       George Crum
·       Mark Dean
·       Charles Drew
·       Philip Emeagwali
·       Sarah E. Goode
·       Lonnie G. Johnson
·       Frederick McKinley Jones
·       Lewis Howard Latimer
·       Garrett Morgan
·       Madam C.J. Walker

You can find a FREEBIE for teaching about these inventors below!


You can find the complete no -prep unit OR bundle below.


Salt Dough Maps


One of my students’ favorite projects each year is making maps out of salt dough.


 I remember using salt dough myself as a child and it’s still such a great idea. Salt dough is perfect for a number of reasons.
  
·         It is easy to make. I actually send a note a week ahead of time with the recipe and let the students bring their own salt dough to class.
·         It doesn’t stain clothes.
·         It can easily be painted (even when it’s not completely dry). We actually paint ours with watercolors.
·         It’s nontoxic – face it, we know that some of the students are going to taste it!
·         It lasts for a few weeks when sealed. As long as it is sealed, it shouldn’t dry out before you use it.

How do I use it in the classroom? I love using it to make maps. Every year we use it to illustrate the regions of Texas.
 I usually send a note to parents with a recipe two weeks in advance. Of course you’ll need to make an extra batch for those who don’t bring any. The recipe that I send home is the simplest one that I have found.

Salt Dough Recipe

2 cups of flour
1 cup of salt
About 1 cup of water

Combine the salt and flour. Add water slowly and mix until the dough is the consistency of play dough. Add more flour if the dough is not holding its shape.

Salt Dough Tips

·         Cheap paper plates work great as a base for the maps. I like them because you can hold them up to the light or to a window to trace the shape that you need.
·         Work in groups! I put down large pieces of butcher paper and allow them to work on groups of 3 or 4.
·         Bring extra flour. This is so SO important! Place a small pile of flour in the middle of the group and allow them to dip pieces of dough in the flour so that it is not so sticky.

·         Let them dry for 2 days before painting. You can actually paint them when they are not completely dry.

·         Crayola brand water colors work great for painting them and are easy to clean up.

Combining Spelling with ART!

I LOVE combining Spelling with Art. For our Spelling lesson today, we put our names in a circle in the middle of the paper. Then, we used our rulers to draw lines from the circle to the outside of the paper. We drew 12 lines since we have 12 spelling words this week. Inside each space, we wrote our spelling words three times. We then colored the background in crayon or color pencil. No white space can be left on the paper. My students love this and they don't even realize that they are practicing their spelling!