menu   home About Me My Products  

Characteristics of a Good President


We spend a good part of February talking about presidents. No matter what students’ feelings are towards certain presidents (or presidential candidates), we can all agree on characteristics of a good presidents are. We spent quite a bit of time discussing how we think that presidents should and should not behave. Our list of good presidential characteristics include:
·        Honest
·        Trustworthy
·        Smart
·        Kind
·        Educated
·        Truthful
·        Generous
·        Fair
·        Hardworking
·        Open-minded


To wrap up our unit on presidents, we made an art project that allowed students to draw their own presidential portraits.

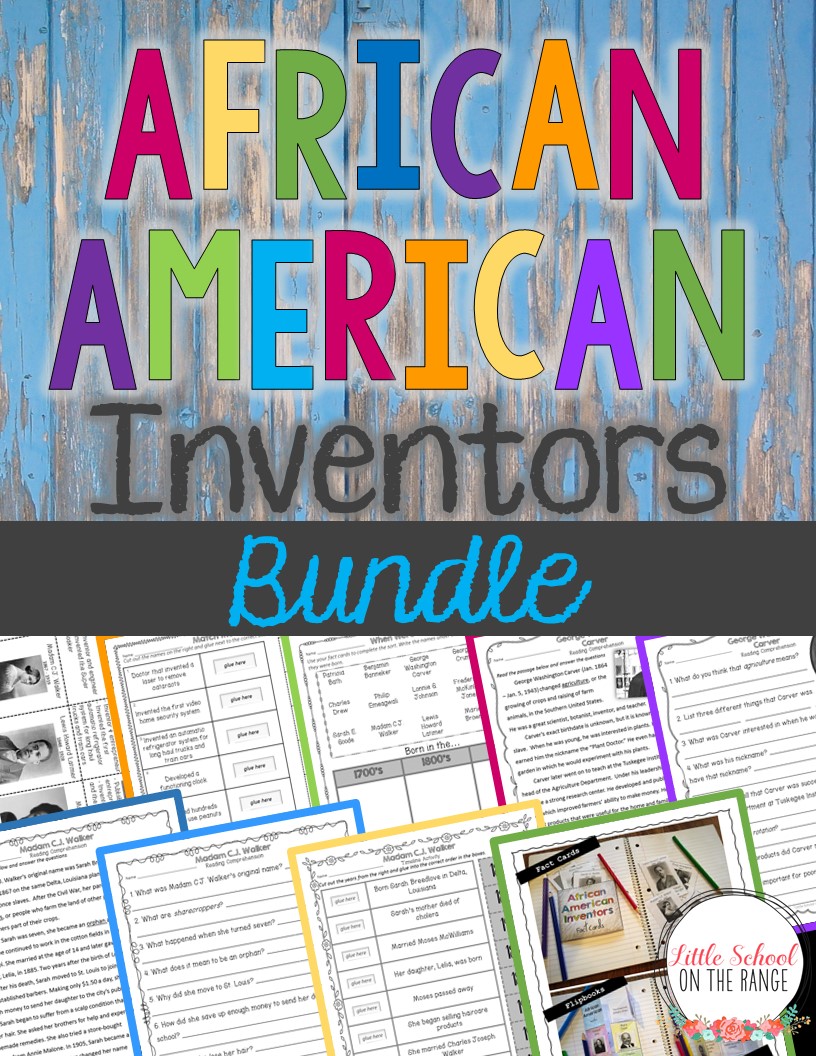
15 Inventors for Black History Month


 This is a list of our favorite 15 inventors for Black History Month

·       Patricia Bath
·       Benjamin Banneker
·       Sarah Boone
·       Marie Brown
·       George Washington Carver
·       George Crum
·       Mark Dean
·       Charles Drew
·       Philip Emeagwali
·       Sarah E. Goode
·       Lonnie G. Johnson
·       Frederick McKinley Jones
·       Lewis Howard Latimer
·       Garrett Morgan
·       Madam C.J. Walker

You can find a FREEBIE for teaching about these inventors below!


You can find the complete no -prep unit OR bundle below.


Salt Dough Maps


One of my students’ favorite projects each year is making maps out of salt dough.


 I remember using salt dough myself as a child and it’s still such a great idea. Salt dough is perfect for a number of reasons.
  
·         It is easy to make. I actually send a note a week ahead of time with the recipe and let the students bring their own salt dough to class.
·         It doesn’t stain clothes.
·         It can easily be painted (even when it’s not completely dry). We actually paint ours with watercolors.
·         It’s nontoxic – face it, we know that some of the students are going to taste it!
·         It lasts for a few weeks when sealed. As long as it is sealed, it shouldn’t dry out before you use it.

How do I use it in the classroom? I love using it to make maps. Every year we use it to illustrate the regions of Texas.
 I usually send a note to parents with a recipe two weeks in advance. Of course you’ll need to make an extra batch for those who don’t bring any. The recipe that I send home is the simplest one that I have found.

Salt Dough Recipe

2 cups of flour
1 cup of salt
About 1 cup of water

Combine the salt and flour. Add water slowly and mix until the dough is the consistency of play dough. Add more flour if the dough is not holding its shape.

Salt Dough Tips

·         Cheap paper plates work great as a base for the maps. I like them because you can hold them up to the light or to a window to trace the shape that you need.
·         Work in groups! I put down large pieces of butcher paper and allow them to work on groups of 3 or 4.
·         Bring extra flour. This is so SO important! Place a small pile of flour in the middle of the group and allow them to dip pieces of dough in the flour so that it is not so sticky.

·         Let them dry for 2 days before painting. You can actually paint them when they are not completely dry.

·         Crayola brand water colors work great for painting them and are easy to clean up.

Combining Spelling with ART!

I LOVE combining Spelling with Art. For our Spelling lesson today, we put our names in a circle in the middle of the paper. Then, we used our rulers to draw lines from the circle to the outside of the paper. We drew 12 lines since we have 12 spelling words this week. Inside each space, we wrote our spelling words three times. We then colored the background in crayon or color pencil. No white space can be left on the paper. My students love this and they don't even realize that they are practicing their spelling!

Christmas Around the World


My students have always adored learning about Christmas traditions around the world. We try to learn about Christmas in other countries throughout the month of December. It’s a great unit for our Social Studies class! I usually introduce the unit with a power point presentation. It is a super way to encourage class discussion.


The presentation covers Christmas traditions in 10 different countries. The countries include:

·         United States
·         Mexico
·         Australia
·         Sweden
·         France
·         Germany
·         Italy
·         Japan
·         Greece
·         Spain

For each country, the presentation allows us to discuss:
·         The country’s location in relation to the United States
·         Their country’s flag
·         When they celebrate the holiday
·         Special traditions that are unique to the country
·         Figures that they have that are similar to Santa Claus

We then cut out fact cards for each country that reiterates the information from the presentation. We put them into pockets in our Social Studies interactive notebooks. The cards help us with our activities throughout the unit.


Teaching Christmas around the world, allows us to also practice our map skills that we learned earlier in the year. This unit has activities that reinforce what we’ve learned about the seven continents and allows us to locate countries and capitals on maps.


This unit is full of activities that help students to use nonfiction information!


You can find the complete unit at:


You can find the presentation at:


OR, you can buy the BUNDLE that includes the unit and the presentation!


Painless Classroom Gift Exchange


For years I struggled through the classroom gift exchange at Christmas. You know how it goes – everyone draws someone’s name to buy a gift for them. This inevitably follows:
·         Someone dislikes what they are given and lets the giver know, tears follow
·         Someone breaks their gift before the party is over, tears follow
·         Someone (usually several) doesn’t bring a gift and you are left buying a handful of spare presents

After suffering through this for years, I came across the idea of Christmas stockings. Rather than exchange presents, students simply bring small things for the stockings (one small thing for each student). This idea works because:
·         Everyone receives the same gifts
·         Most parents don’t have to spend more than $5 unless they choose to
·         No one knows who the gifts are from
·         No one knows if someone didn’t bring anything


The “stockings” that I use are simply brown lunch bags. I have found that the larger ones work the best. I have had a fellow teacher use the large brown grocery bags before too.  I like the lunch size because it seems like a stuffed full stocking. We usually decorate our “stockings” a few days before our Christmas party and I line them up along a back counter.


Prior to our Christmas party, I let the students fill the stockings with the goodies that they have brought. The highlight of the party is opening the stockings! I pass them all out and then let all of the students open their stockings at the same time. You may want to have extra grocery sacks handy to help students carry home all of their goodies!