Our first writing piece of the year is an expository writing. I always
teach time order words before we start this piece of writing. I like using time
order words because it tends to give my young writers a sense of direction.
This poster serves as a great reminder of time order words that my second
graders can use!
What is a Scientist?
One of our first lessons in Science is about scientists. It comes after
our lessons over Science Tools and Lab Safety. ALL of us are scientists! When students
are exploring the world around them – they are scientists! In primary grades,
we explore the basics of what being a scientist means. We explore the different
ways that they use their body to explore the world around them. One of their
favorite projects is drawing themselves as scientists. I always draw an example of myself as an
example…
Safety goggles are a MUST! Remember to dress as a scientist would
dress. I also have them label their scientists to show me how they can use
their bodies to explore in Science. These are always some of the first pictures
that we display in the hallway for the school year.
I was especially excited to start this unit this year because I revised
my entire “What is a Scientist Unit.” It is much more teacher and student
friendly! You can find it in the link below.
Interactive Notebook Storage
Another helpful tip that I have learned is to have students simply stack them in the middle of their tables (or desks) when they are done. I always collect them by table. This ensures that passing them back out is a quick process!
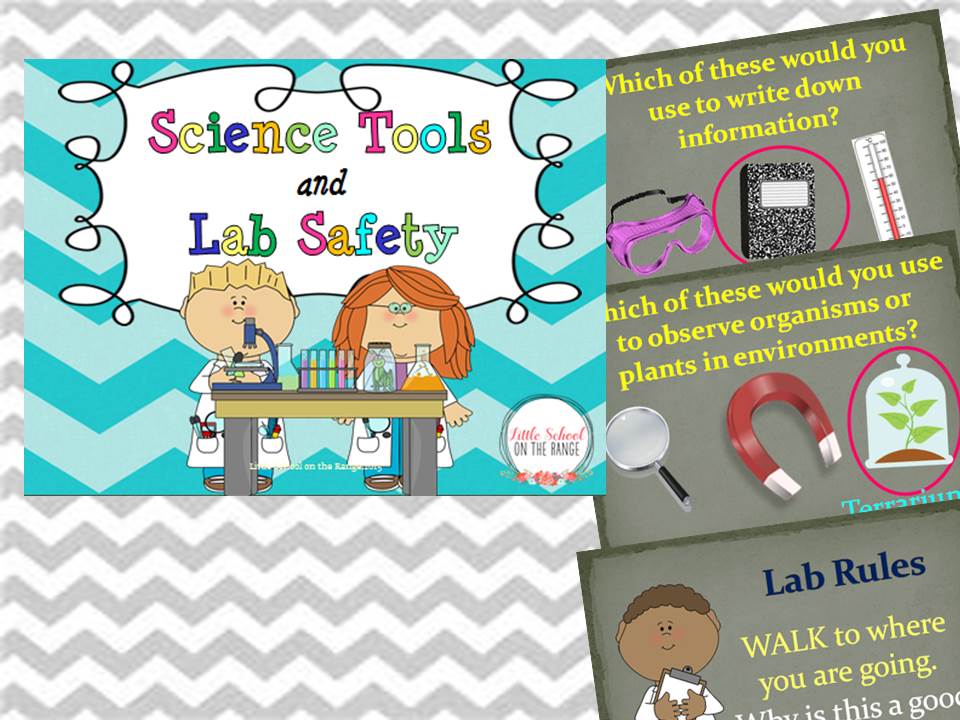
Science Tools and Lab Safety for Primary Grades
One of the first Science units that I teach every year to my kiddos is
about Science Tools and Lab Safety. It is a great way to familiarize the
students with the Science tools that they will be using all year long. It
is also a great way to teach them how to properly use them. It is important to
remember that while you may be teaching young kids, you are also laying the
ground work for all the Sciences that come later. Science in the primary grades prepares students for biology, chemistry, physics, etc…Since I teach second grade, I
generally stick to the basic Science tools such as:
·
Magnifying Glass
·
Magnet
·
Microscope
·
Terrarium
·
Computer
·
Balance
·
Beaker
·
Weather Vane
·
Aquarium
·
Safety Goggles
·
Notebook
·
Thermometer
·
Rain Gauge
·
Stop Watch
·
Ruler
·
Scale
I have my students cut out fact cards for the different
Science tools. We put them into a pocket in our Science notebooks for reference
throughout the year.
If possible, have all the tools for the students to examine.
I like showing the students the real tools as well as using a Power Point
presentation that encourages discussion about the reasons we use Science tools.
We also discuss which tool is the correct tool for the
different jobs…
Lab Rules are also crucial to teach students. Even if you
don’t have a Science lab, lab rules are important to follow when performing
experiments in your classroom.
My best-selling Science Tools and Lab Safety Unit can be found
below
My Science Tools and Lab Safety Presentation can be found
at:
OR, you can buy the BUNDLE and SAVE!!!
Postcards to Your Students - Setting the Tone for a Great Year
Kids LOVE getting mail! There really isn’t a better way to set the tone
for the school year than to send postcards before school starts. It is a great
way to open up the line of communication with the students and parents. I don’t
know how many students over the years have told me that the postcard that I send
them before school starts is the first piece of mail that they’ve ever
received. Postcards are relatively inexpensive. You can usually find them at
teacher stores in packs of 30. I will be sending my bunch out this week (one
week before school starts). I generally just say something like:
“I hope that you’ve had a fun summer. I’m
excited to be your teacher this year. I look forward to seeing you on the first
day of school!”
You will be surprised with the amount of students that will bring the
postcards to school to show you that they received them. I even get Thank You
notes from students for sending them!
Simple Classroom Rules
Classroom rules are essential to classroom management. However, my
classroom rules have changed in the years since I first started teaching. I
used to start the year by establishing the rules. In college, I was taught that
4 to 5 rules were ideal (not too many, not too little). In the past, I even did
brainstorming activities with my kiddos and allowed them to vote on the
classroom rules. While that was effective, I realized that all I really needed
were 2 basic rules.
My 2 rules:
1.
Be respectful: This rule really covers all of
our behavior issues. If we are respecting the teachers and others, then everything
will be OK. This rule takes the place of “Stay quiet while the teacher is
talking,” “Keep hands and feet to ourselves,” “Remain quiet in the hallway,”
and etc…
2.
Be responsible: This covers a lot of issues. I like
to tell my kiddos to take care of their business. This takes the place of “Always
be prepared,” “Have your supplies ready,” “Finish all your work,” and etc…
I post these rules above our “Bucket Filler” reminder. I also like to
read “Fill a Bucket” to my class every year on the first day of school. It really
helps to establish a classroom community. Below you can find the activities that
I like to do with my kiddos during the first week of school!
Math Resource Folders
…these are all questions that elementary teachers hear all year long.
To solve this problem, and to teach students at the same time, I’ve started
using Math resource folders. They actually serve as our “privacy folders” for
all subjects all year long. Making them is one of the first things that I like to
do during our first Math lesson of the year (and it also makes a great first
day of school activity). I have made these folders both ways: 2-sided and
3-sided. Last year we made 2-sided folders (made with one file folder).
This year I am going to make the 3-sided folders (made with 2 file
folders). They just seem to be less crowded with information.
If you are making a 3-sided folder, you will need to assemble the
folder using 2 file folders. Last year, all of mine were made out of plain
manila folders. However, I found a bright blue (our school color is blue) that
is sold in a large quantity at Staples. The colored folders seem to be a little
thicker than regular file folders and they should hold up better.
How to construct a 3-sided folder from 2 file folders:
1. Place one file folder on top of the other.
2. Line
up the left side of one folder on top of the right side of another.
3. Glue the
overlapping sides together.
To make either the 2-sided or 3-sided folders, we simply cut out all of
the information that we need for references. All of the references that I use
in my classroom can be found in the link below. It’s important that the students
arrange all the information before they glue it all down to make that it all
fits. When they are happy with their arrangement of information, they can glue
it all down.
To ensure that the folder lasts all year, I laminate them. My second
graders keep them in the top slot in their desk. We seem to use them throughout
the day. They are great to use during fact tests, during Spelling tests, and
when little darlings can’t seem to act pleasant to one another ;)
You can find my templates for our Math resource folders below!
Subscribe to:
Posts (Atom)